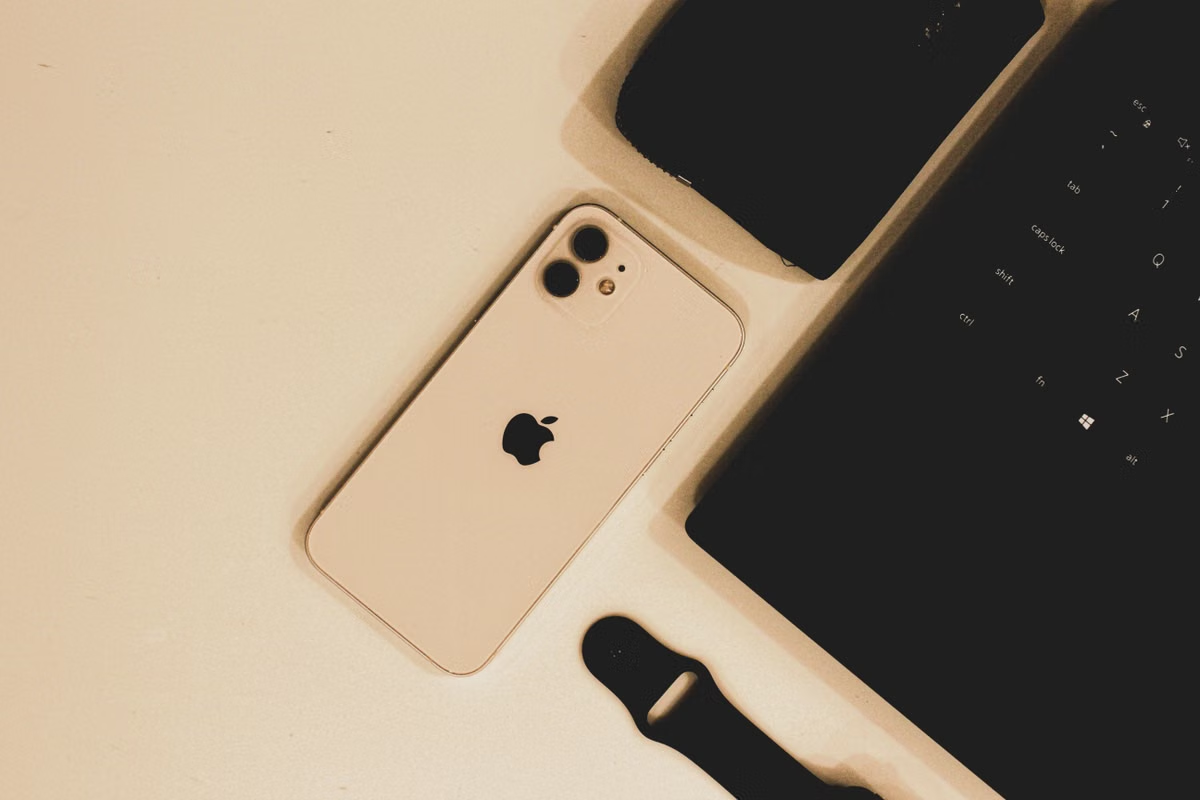
Flutter 3.47 lets you write Flutter code on Windows, but iOS simulator testing, building, and release work require a compatible macOS and Xcode environment. If your course only asks you to practise Dart or build a Flutter interface, stay on Windows for now; first check the actual submission requirements before arranging Mac access.
This week: read the assignment brief, mark each iOS task you must complete, then choose a Mac route only if the deliverable needs one.
This guide is for Windows users learning Flutter who want to know which coursework tasks they can finish on their current computer.
It also helps students planning an iOS simulator check or build, and anyone unsure whether to buy a Mac before an assignment requires it.
Windows works for Flutter code practice
You can use the Flutter SDK on Windows to learn Dart, build Flutter interfaces, and work on parts of an app that do not depend on iOS-specific tools. Flutter’s installation documentation lists its supported development platforms. If your course specifically names Flutter 3.47, check the version-specific Flutter SDK archive instead of assuming the version already installed on your computer is the required one.
That does not mean Windows can run every part of an iOS workflow. Flutter code is the project’s shared source; the iOS simulator and Apple’s build and release tools are separate parts of the workflow. The Flutter iOS setup guide explains the tools needed for iOS development, including Xcode. Apple’s Xcode system requirements list the macOS conditions for each Xcode release. Check the version your course expects rather than assuming any Mac or any Xcode version will do.
Before setting up anything, read the assignment brief and identify the required output. It may ask you to submit source code, show a working app in an iOS simulator, provide a build archive, or upload a release build. Those are different tasks. A project that runs on Windows can still be useful coursework, but it is not proof that the iOS target has been tested or built.
The official Flutter 3.47 release notes are the reference for release-specific changes. Use them alongside the SDK archive when you need to confirm that you have the version your class specifies. Do not substitute a later or earlier SDK simply because it is already installed without checking whether the course or project depends on a particular version.
iOS simulator checks need a Mac
Flutter projects written on Windows can be checked on an iOS simulator by moving the project to a Mac with a compatible macOS and Xcode setup, then opening or fetching the project there. The simulator is where you inspect an iOS app’s behavior; it is not an iOS simulator running on Windows. Flutter’s iOS setup guide describes the platform-specific preparation.
This route matters if your instructor expects screenshots, a demonstration, or evidence that the app launches in an iOS simulator. Windows can remain your main place to write shared Flutter code, but it cannot provide that iOS simulator check. You need access to the Mac environment for the part that targets iOS.
Use this decision list:
- If the assignment asks only for Dart exercises or a Flutter interface, continue on Windows.
- If it asks you to demonstrate the app in an iOS simulator, arrange access to a compatible Mac and Xcode.
- If it asks for a build archive or a release submission, confirm the required build and signing steps before deciding how to access a Mac.
- If the brief is vague, ask the instructor whether a Windows demonstration is acceptable or whether iOS-specific evidence is required.
Do not treat “the project opens” as the same as “the iOS app has been verified.” A simulator run can reveal iOS-specific layout or behavior issues that you did not see during Windows development. Conversely, if the course never requests an iOS check, arranging simulator access may add work without helping you meet the stated deliverable.
iOS builds and submissions require separate planning
Flutter’s official iOS release guide describes the iOS build and release workflow. For the tasks it covers, plan on using macOS and Xcode. Apple’s documentation for uploading builds to App Store Connect describes the submission side. Follow the exact instructions for your course; a class hand-in and an App Store release are not necessarily the same process.
Separate the work into stages before you choose a machine:
- Local coding: edit shared Dart files and develop the app’s interface. You can do much of this on Windows.
- iOS verification: open and run the iOS target in a simulator. Use the Mac and Xcode environment described by Flutter.
- Build creation: produce the iOS build or archive required by the assignment. Follow the official release workflow and the course’s version requirements.
- Submission or upload: check whether you must provide a file to your instructor, upload a build, or complete a release process. Account access, signing, and the required deliverable can differ.
A course that asks you to submit source code is not automatically asking you to publish an app. Do not spend time setting up account or release steps unless your instructor requires them. On the other hand, if the brief says to create an archive or submit an iOS build, ask what format and signing setup the course expects. A build that is technically created but cannot be submitted in the required way may not satisfy the assignment.
A borrowed Mac can handle a focused iOS check
Splitting the work between Windows and a school, family, or friend’s Mac can be a reasonable route when you need only a limited iOS check. Write and review your Flutter code on Windows, then use the Mac for the iOS-specific steps. Before you rely on this plan, confirm that the Mac can run the Xcode version your project needs and that you have enough time to complete the check.
Prepare the project handoff before moving to the Mac:
- Keep the project’s source files together and make sure your latest changes are saved.
- Record the Flutter version and any course-required SDK or dependency versions.
- Check that the project configuration files and dependency declarations are included.
- Decide how you will transfer the project and how you will bring back screenshots, logs, or other required evidence.
- Ask whether the Mac is available long enough to open the project, resolve dependencies, test the iOS target, and save the result.
A Git repository is often a tidy way to hand off source code, but follow your course’s preferred method. If you use a compressed folder or another transfer method, verify that it includes the project files needed to reproduce the app. Do not assume that a folder copied from Windows contains every tool or dependency the Mac will need; the receiving environment still has to meet the Flutter, Xcode, and macOS requirements.
Before you book time on a borrowed Mac: confirm the required Xcode version, access method, and exact submission item with the owner or your instructor. A Mac that cannot use the required development tools may not solve the assignment problem.
Remote macOS can be an option for repeated checks
If school or borrowed access does not give you enough time, a remote macOS environment may be another route to investigate. Treat it as an option to verify, not as a guarantee: confirm the available macOS and development tools, how you will connect, how files move in and out, and whether the environment fits your course’s build and submission requirements.
The handoff can follow the same basic pattern whether the Mac is nearby or remote:
- Commit or copy the latest project state from Windows.
- Connect to the Mac using the access method offered for that environment.
- Confirm the installed Flutter and Xcode versions against the course requirements.
- Fetch dependencies and open the iOS target.
- Run the required simulator or build check.
- Save the deliverable and return it through the method accepted by your instructor.
The official Flutter installation and iOS setup documentation can help you check toolchain requirements. For a remote environment, also verify practical details that the general Flutter documentation cannot answer: whether you can transfer your project files, whether you can use the required tools, how you will retrieve the build or screenshots, and whether your course permits the workflow.
VPSOmni’s onboarding information can help you review the connection and setup process. Use it to assess the steps you would need to take, not as proof that a particular Flutter or Xcode combination is available. If the required version or deliverable is unclear, check with the course staff before committing to any environment. You can also use Mac support information to identify questions to resolve before relying on a remote Mac for coursework.
Deadline planning starts with an acceptance check
A deadline changes the decision. You need to know whether the required work can be completed with the equipment and access you can actually use, not just whether a theoretical route exists. Apply this acceptance sequence before you commit:
- Write down the deliverable. Copy the exact wording from the assignment: source code, simulator evidence, an iOS archive, or a submission upload.
- Mark the required platform task. Decide whether the brief needs only Flutter coding, an iOS simulator check, a build, or a release step.
- Confirm the Mac and Xcode fit. Compare the required tools with the Mac you can access. Use Apple’s Xcode requirements and Flutter’s iOS setup documentation to check compatibility.
- Test the handoff early. Put the project on the target Mac and make sure the project opens and its dependencies can be resolved. Keep the Windows copy intact until the Mac-side check is complete.
- Run the required iOS task. Do not stop at opening the project. Complete the simulator check, build, or submission step named in the brief.
- Check the returned deliverable. Confirm that your instructor can receive and inspect the required file or evidence.
For a command-line check, run the diagnostic commands on the Mac:
flutter doctor -v
flutter devices
The output depends on the tools and devices available on that Mac. These commands can help you inspect the environment and list detected targets; they do not by themselves prove that your project builds or meets the course’s submission rules. Use the result to find missing setup, then run the specific simulator or build action your assignment requires.
| Route | Best fit | Check before choosing |
|---|---|---|
| Stay on Windows | Dart practice, shared Flutter code, or a course deliverable that does not require iOS verification | Confirm that the brief does not require an iOS simulator run or build |
| Use a school or borrowed Mac | A specific simulator check or build, with access available at the needed time | Confirm macOS and Xcode compatibility, time, permissions, and how you will return the deliverable |
| Use a remote Mac environment | Repeated iOS checks when local or borrowed access is not practical | Verify actual tool availability, connection, file transfer, course rules, and how to retrieve the output |
| Buy a Mac | Regular, long-term iOS development where you need ongoing local access | Compare the ownership cost and your expected workload; it may be unnecessary for a single course check |
This comparison is about the workflow, not a promise that any particular Mac will build a particular project. Flutter and Xcode versions, project dependencies, signing requirements, and course rules all affect the result. Check those conditions before choosing a route, and leave time to resolve an incompatibility rather than discovering it at submission time.
The decision rule: if you only need to write Flutter code, keep working on Windows. If you must verify or build the iOS target, secure compatible Mac and Xcode access first. You do not have to buy a Mac solely because you are learning Flutter, but a Windows-only workflow cannot replace the iOS-specific steps required by your assignment.
Last updated November 4, 2026. Version and platform guidance checked against the Flutter SDK archive, Flutter 3.47 release notes, Flutter’s iOS setup and release guides, and Apple’s Xcode requirements and build-upload documentation. Your course’s submission rules still take priority.
If your coursework requires repeated iOS checks and you do not have a suitable Mac nearby, compare a remote macOS option with the school or borrowing route before choosing. Remote access can involve extra file-transfer steps and depends on the available tools, while buying a Mac costs more upfront and may be excessive for a one-off assignment. Review the VPSOmni Mac environment options only after confirming the Xcode and delivery requirements you need; do not count on a build until you have checked the actual environment and tested your project.
Build Your Flutter iOS App with VPSOmni
Keep writing Flutter code on Windows, then connect to a dedicated physical Mac mini to handle the macOS steps for your iOS build.
Rent a Remote Mac